Archive
LAMP Stack Setup On Ubuntu 10.04
LAMP?
Short for Linux, Apache, MySQL and PHP, an open-source Web development platform, also called a Web stack, that uses Linux as the operating system, Apache as the Web server, MySQL as the RDBMS and PHP as the object-oriented scripting language. Perl or Python is often substituted for PHP.
In this tutorial I use the hostname TP059 with the IP address 10.0.1.5. These settings might differ for you, so you have to replace them where appropriate.
Step1: Login as a user
Step2: Navigate to Applications > Accessories > Terminal to fire up the terminal window.
Step3: switch the user login to root by entering the following command.
- Cmd: “su”
- Type the root password
Now I have the full access in this system (admin)
I’m running all the steps in this tutorial with root privileges
Step4: Installing Apache2
There are two Methods to install the apache webserver in Ubuntu desktop
- Online Method (From Ubuntu Repository)
- Offline Method (Download the Installable(.deb & tar.gz) file from website)
Online Method Installation (From Ubuntu Repository)
Let’s start the apache web server installation (apache version 2.2)
Apache2 is available from Ubuntu repository, therefore we can install from terminal using the following (simple) command
cmd: apt-get install apache2
Offline Method Installation (Installaing .deb file)
Download the apache2 from the url belowhttp://packages.ubuntu.com/lucid/apache2-mpm-event
Open the terminal and navigate to the folder where apache installable (.deb) file saved (by default it will be in “Downloads” folder).
cmd: cd /root/Downloads
Type the following command in Terminal to install the manually downloaded package.
cmd: dpkg –i apache2-mpm-event_2.2.14-5ubuntu8.11_i386.deb
Once the installation is completed, direct your browser to http://10.0.1.5, and you should see the Apache2 placeholder page (It works!):
Step5: Installing Mysql
Lets see the MySQL Databaser server installation on ubuntu desktop
There are two Methods to install the apache webserver in Ubuntu desktop
- Online Method (From Ubuntu Repository)
- Offline Method (Download the Installable(.deb & tar.gz) file from website)
Online Method Installation (From Ubuntu Repository)
Mysql is available from Ubuntu repository, therefore we can install via Terminal:
Enter the following command in terminal:
cmd: apt-get install mysql-server mysql-client
Offline Method Installation (Installaing .deb file)
Download the Mysql server from the url http://packages.ubuntu.com/lucid-updates/i386/mysql-server-5.1/download
Open the terminal and navigate to the folder where apache saved (by default it will be in “Downloads” folder).
cmd: cd /root/Downloads
Type the following command in Terminal to install the manually downloaded package.
cmd: dpkg –i mysql-server-5.1_5.1.69-0ubuntu0.10.04.1_i386.deb
Download the Mysql client from the url http://pkgs.org/ubuntu-10.04/ubuntu-main-i386/mysql-client-5.1_5.1.41-3ubuntu12_i386.deb.html
Open the terminal and navigate to the folder where apache saved (by default it will be in “Downloads” folder).
cmd: cd /root/Downloads
Type the following command in Terminal to install the manually downloaded package.
cmd: dpkg –i mysql-client-5.1_5.1.41-3ubuntu12_i386.deb
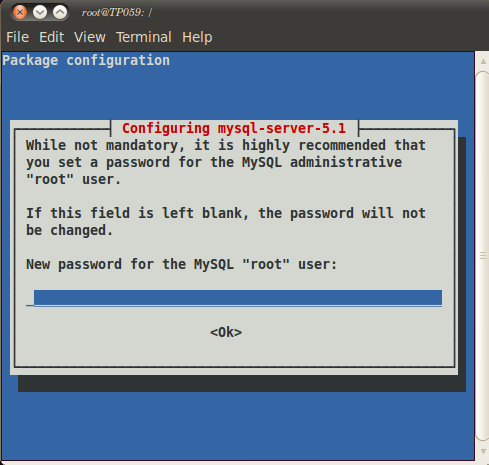
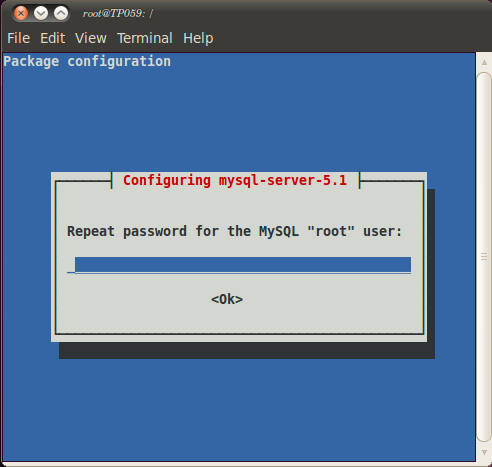
You will be asked to provide a password for the MySQL root user – this password is valid for the user root@localhost as well as root@10.0.1.5
New password for the MySQL “root” user: “your root password for Mysql DB Access”
Repeat password for the MySQL “root” user: “Enter same password as entered before”
Step6: Installing PHP5:
Lets see the PHP installation on ubuntu desktop
There are two Methods to install the apache webserver in Ubuntu desktop
- Online Method (From Ubuntu Repository)
- Offline Method (Download the Installable(.deb & tar.gz) file from website)
Online Method Installation (From Ubuntu Repository)
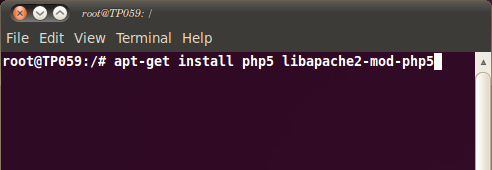
Enter the following command in Terminal to install PHP5 and Apache PHP5 module :
cmd: apt-get install php5 libapache2-mod-php5
Offline Method Installation (Installaing .deb file)
Download the PHP5 from the url http://pkgs.org/ubuntu-10.04/ubuntu-universe-i386/php5-mcrypt_5.3.2-0ubuntu1_i386.deb.html
Open the terminal and navigate to the folder where apache saved (by default it will be in “Downloads” folder).
cmd: cd /root/Downloads
Type the following command in Terminal to install the manually downloaded package.
cmd: dpkg –i php5-mcrypt_5.3.2-0ubuntu1_i386.deb
Now restart Apache webserver:
To restart apache, enter the following command in terminal
cmd: /etc/init.d/apache2 restart
Step7: Testing PHP5 / Getting Details About Your PHP5 Installation:
The document root of the default web site is /var/www. We will now create a small PHP file (info.php) in that directory and call it in a browser. The file will display lots of useful details about our PHP installation, such as the installed PHP version.
Create the info.php file using gedit: Enter the following command in terminal:
cmd: gedit /var/www/info.php
Copy the following code into the file and save it:
<?php
phpinfo();
?>
Now we call that file in a browser (e.g. http://10.0.1.5/info.php):
As you see, PHP5 is working, and it’s working through the Apache 2.0 Handler, as shown in the Server API line. If you scroll further down, you will see all modules that are already enabled in PHP5. MySQL is not listed there which means we don’t have MySQL support in PHP5 yet.
Step8: Getting MySQL Support In PHP5:
To get MySQL support in PHP, we can install the php5-mysql package. It’s a good idea to install some other PHP5 modules as well as you might need them for your applications. You can search for available PHP5 modules by entering the following command in Terminal:
cmd: apt-cache search php5
Select the modules according to your need and install them like this:
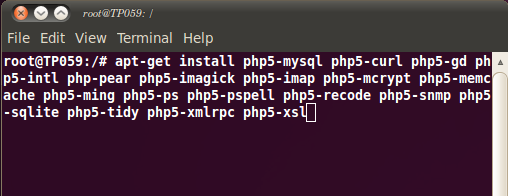
Enter the following command in Terminal:
cmd: apt-get install php5-mysql php5-curl php5-gd php5-intl php-pear php5-imagick php5-imap php5-mcrypt php5-memcache php5-ming php5-ps php5-pspell php5-recode php5-snmp php5-sqlite php5-tidy php5-xmlrpc php5-xsl
Now restart Apache2 to enable modules by entering the following command in Terminal:
cmd: /etc/init.d/apache2 restart
Now reload http://10.0.1.5/info.php in your browser and scroll down to the modules section again. You should now find lots of new modules there, including the MySQL module:
Step9: Installing phpMYAdmin:
Let’s install the phpmyadmin to handle the administration of MySQL with the use of a web browser.
There are two Methods to install the apache webserver in Ubuntu desktop
- Online Method (From Ubuntu Repository)
- Offline Method (Download the Installable(.deb & tar.gz) file from website)
Online Method Installation (From Ubuntu Repository)
To install phpMyAdmin enter the following command in Terminal:
cmd: apt-get install phpmyadmin
Offline Method Installation (Installaing .deb file)
Download the phpMYAdmin from the following url http://packages.ubuntu.com/lucid/all/phpmyadmin/download
Open the terminal and navigate to the folder where apache saved (by default it will be in “Downloads” folder).
cmd: cd /root/Downloads
Type the following command in Terminal to install the manually downloaded package.
cmd: dpkg –i phpmyadmin_3.3.2-1ubuntu1_all.deb
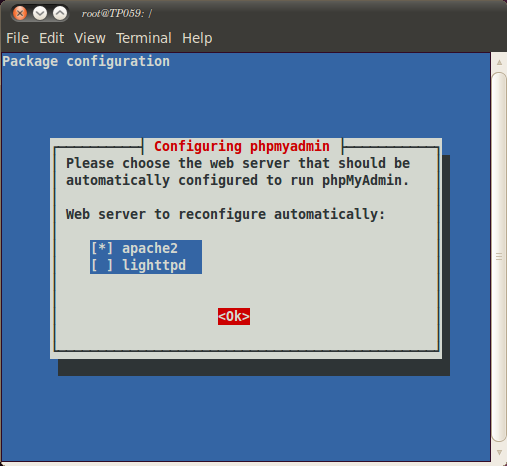
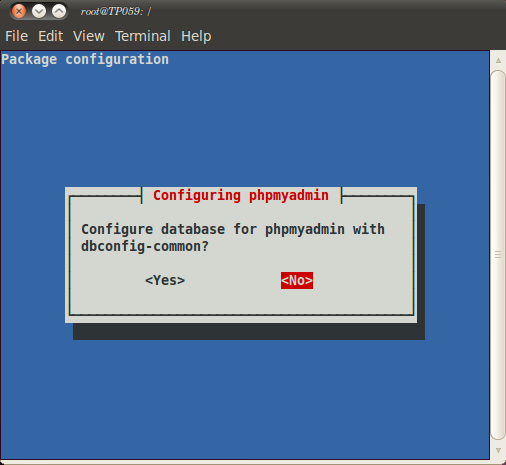
During the installation you will see the following questions:
Web server to reconfigure automatically: <– apache2
Use Space Bar key to select “apache2” and Tab key to select “ok”
Configure database for phpmyadmin with dbconfig-common? <– No
Afterwards, you can access phpMyAdmin under http://10.0.1.5/phpmyadmin/


